
Creating 3D shapes can be both fun and highly rewarding, whether you’re an artist, student, or someone just curious about the magic behind geometric figures. This comprehensive guide will help you understand how to make a 3D shape from scratch. We’ll explore both physical and digital methods to bring your imagination into reality. Ready to get started? Let’s dive in!
What is a 3D Shape?
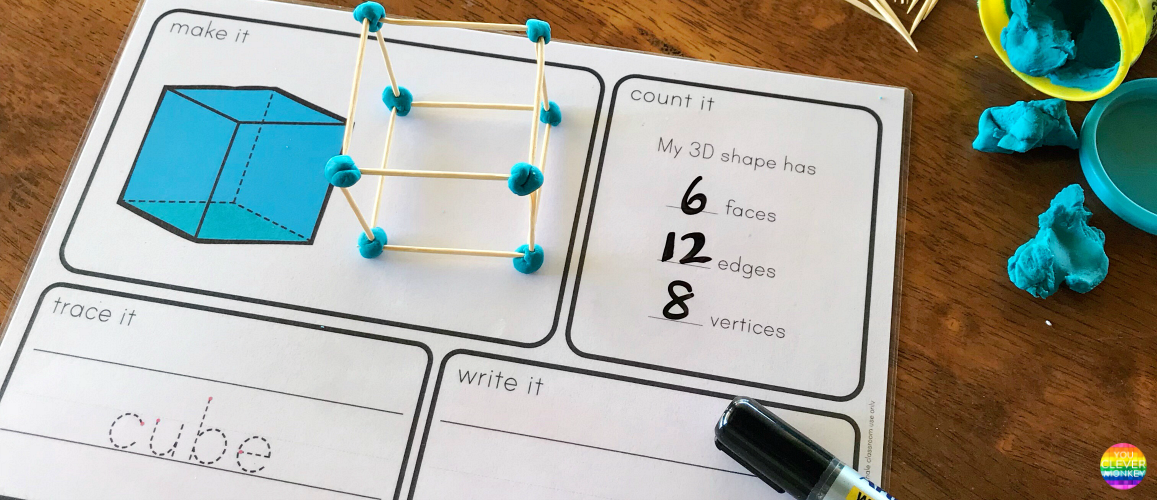
A 3D shape is an object that has three dimensions: length, width, and height. Unlike 2D shapes, which are flat and can only be drawn on a piece of paper, 3D shapes have volume and can be physically constructed or digitally rendered. Examples of common 3D shapes include cubes, spheres, cylinders, pyramids, and cones.
Why Create 3D Shapes?
Learning how to create 3D shapes has numerous benefits. It enhances spatial awareness, helps with understanding geometry concepts, and is also a stepping stone for those interested in 3D modeling, animation, and even architecture. Additionally, it’s an excellent way to cultivate creativity, whether you’re using software or craft materials.
Step-by-Step Guide to Making a 3D Shape
Step 1: Choose Your 3D Shape
First things first—decide on the type of 3D shape you want to create. Some of the most popular 3D shapes include:
Cube: A six-faced shape where all sides are equal.
Cylinder: A shape with two circular faces and a curved body.
Pyramid: A shape with a polygon base and triangular faces that converge at a point.
Sphere: A perfectly round shape, like a ball.
Knowing the kind of shape you want to create will help you gather the right materials and tools for the job.
Step 2: Gather Your Tools and Materials
Depending on whether you’re making a physical 3D shape or using software, the tools you need will differ.
For a Physical 3D Shape:
Cardboard or construction paper
Scissors
Glue or tape
Ruler and compass
Pencil and eraser
For a Digital 3D Shape:
3D Modeling Software: Blender, Tinkercad, SketchUp, or Fusion 360.
Computer or tablet
Mouse (optional but helpful for precision)
Step 3: Make a Physical 3D Shape
1. Draw the Net of the Shape
A net is a 2D representation of a 3D shape that can be folded to form the desired object. To create a net:
Use a ruler to draw out the individual faces of your shape.
If you’re creating a cube, you’ll need six squares, each of the same size.
Ensure that all the faces are connected in a pattern that allows them to fold up into the desired shape.
2. Cut and Fold
Use scissors to cut out the net of the shape.
Fold along the edges carefully to create the structure.
3. Assemble the Shape
Use glue or tape to assemble the folded edges into a 3D shape.
Hold it in place until the glue sets to maintain its form.
Step 4: Make a Digital 3D Shape
If you’re more inclined towards digital creation, 3D modeling software can make this process efficient and precise.
1. Choose a Software
There are many 3D modeling tools available, but here are some recommendations based on skill level:
Beginners: Tinkercad (web-based and easy to learn)
Intermediate: SketchUp (great for architectural designs)
Advanced: Blender or Fusion 360 (for complex 3D models)
2. Create the Basic Shape
Open your 3D modeling software and create a new project.
Use the primitive tools available in the software to create the base shape. For instance, a cube or sphere can be generated in seconds with a few clicks.
3. Adjust Dimensions and Details
Use tools like scale, rotate, and move to adjust your 3D shape to your desired size.
Add extra details, such as cutting edges, adding bevels, or modifying surfaces for a more detailed model.
Step 5: Add Finishing Touches
For Physical Models: You can paint the 3D shape or add decorative paper to make it more visually appealing. Add textures to make it look realistic or even turn it into a mini sculpture.
For Digital Models: You can add textures, colors, and lighting effects to your 3D model using your software’s material library. This will make your model look realistic and ready for rendering.
Tips for Creating 3D Shapes
Start Simple: If you’re new to 3D shapes, begin with a cube or pyramid before moving to more complex structures.
Accuracy Matters: Use a ruler for physical models and snapping tools in software to ensure your edges and angles are accurate.
Experiment with Software Tools: Don’t be afraid to explore different software tools. Blender, for instance, has a ton of features that may initially seem intimidating, but with time, you’ll find them very useful.
Take Breaks: 3D modeling can be time-consuming. To avoid frustration, take breaks and come back with fresh eyes.
Applications of 3D Shapes
3D shapes are used in many industries, such as architecture, engineering, and animation. By learning how to create them, you open doors to fields like game development, product design, and art installation. You can even use these skills to create props for 3D printing or learn more about augmented reality.
Conclusion
Creating 3D shapes, whether physically or digitally, is a valuable and satisfying skill that bridges art and engineering. With the right tools and knowledge, anyone can bring geometric forms to life. Start with a simple shape and slowly challenge yourself with more complex models—the possibilities are endless!
Whether you’re looking to expand your creative skills, work in design, or just have fun, making 3D shapes is a journey worth embarking on.
Ready to create your first 3D masterpiece? Grab your tools or launch your software and begin shaping the world in three dimensions today!